When I was using my Microtan as a teenager, I never had a case. I think I would have considered a nice case an expensive luxury at the time, any money I did have would have been spent on functional additions! What on earth is wrong with a collection of PCBs and wires on the bedroom floor?
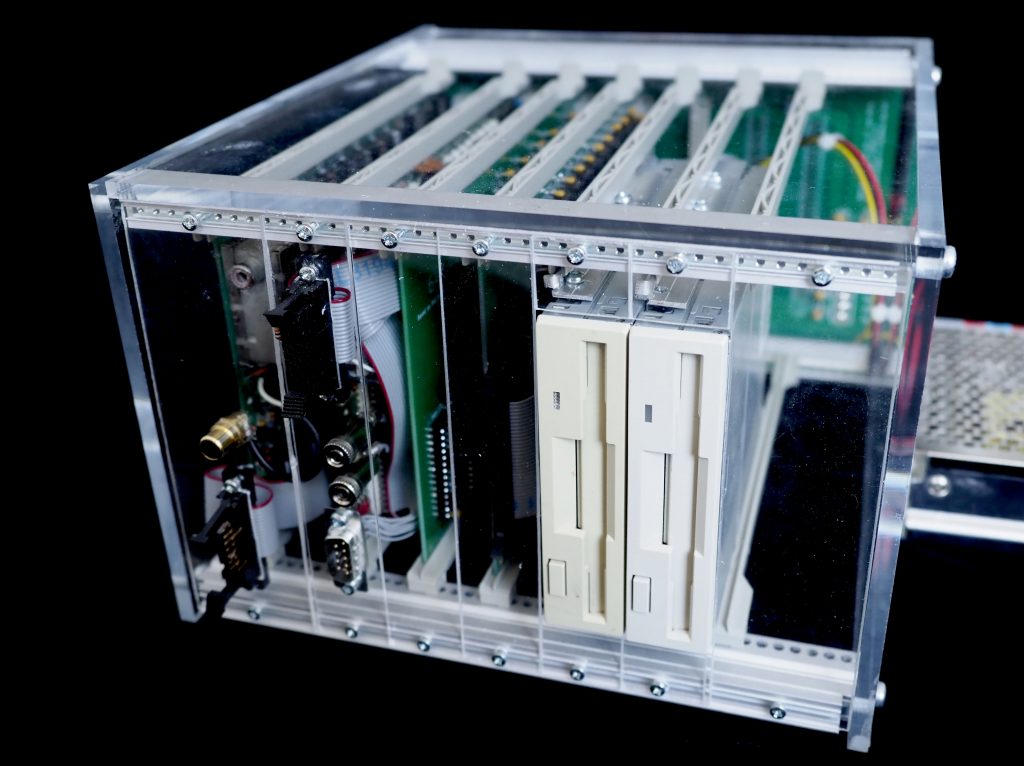
The Microtan boards are an odd size. I believe at the time they were a legitimate variation of the Eurocard standard, but certainly not one that is accommodated by any card racks available today. It also seems a shame to hide the boards away so a custom built acrylic rack seemed like the answer.
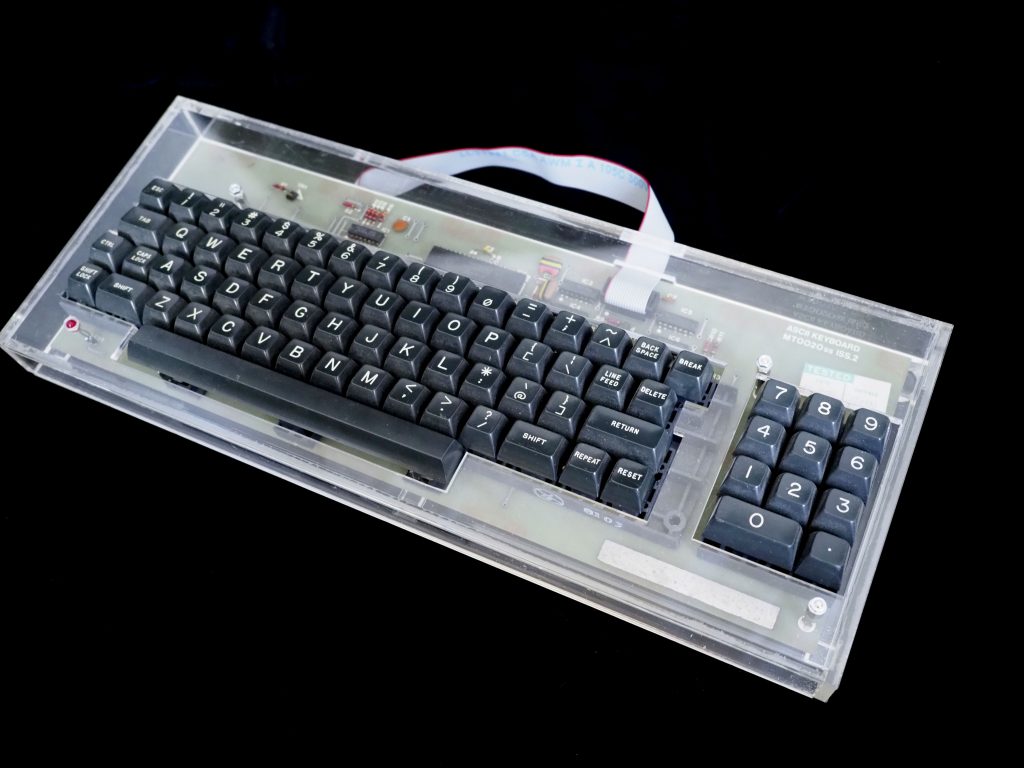
Similarly the keyboard. It may seem crazy today that the Tangerine keyboard case was optional, but it was s significant cost, and many Microtan users would be building their computers into cases anyway. Again an acrylic case leaves all the 80s electronics on show.
Below are the basic details of how I made my cases and some of the design files. If I can be of any further help to anyone or provide more details please do get in touch.
Main Rack
A card rack is basically 2 front rails and 2 back rails held in place by two end plates with all the other components attached to the rails.
I was able to source front and rear rails from PCW Technology The normal width of a 19″ rack is 84HP but the MT65-R Motherboard is only half this width so I used 42HP rails. PCW also supplied the 160mm low profile guide rails that clip into the front and rear rails.
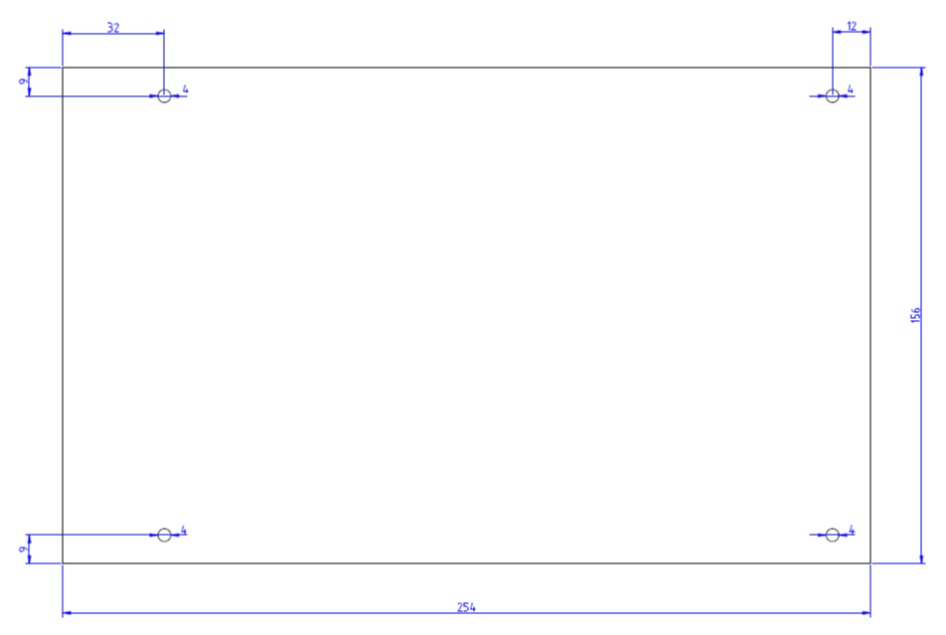
In order to attach the motherboard to the rear rails, I cut and drilled some aluminum strips. I drew a template in LibreCad.

The side panels are made from 6mm acrylic sheet. It is possible to buy sheet cut to size with the sides fire polished so that it looks good, or buy it and cut it yourself. The holes for the rails can be drilled by printing out a template, sticking it to the sheet and carefully drilling.
Front Panels
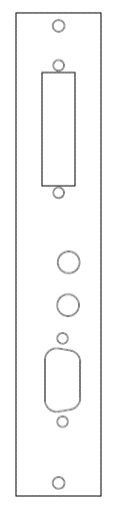
The front panels are made to suit each card from 2mm acrylic and again I drew templates, printed them and used them to cut out each panel. They could, of course, be laser cut.
Keyboard Case
The keyboard case is made from 5mm acrylic, and has a relatively complex and very visible cut out, this was therefore laser cut.
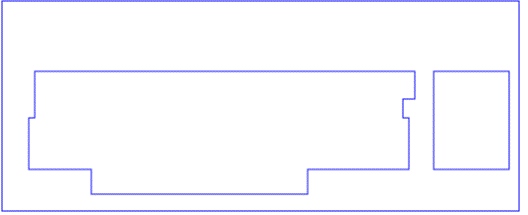
RazorLab provide a good laser cutting service but require the drawing in .svg format, so the design for the case was drawn in InkScape. Mounting holes are drilled in the top and bottom plates, and the side pieces are glued to the top panel. The whole lot is then held together with M3 screws and hex spacers.
Downloads
Below are the various drawing and templates in case they are of any use to anyone. If you require the .svg file for the keyboard case for upload directly to RazorLab get in touch and I will send it to you. I made some changes to correct errors in my own case and have not actually had this version made.